Tuesday, July 30, 2013

Sunday subway tiling

We discussed subway tiling the kitchen a couple months ago when we first moved in and well...we did it! 
It took a couple of Sundays but it is finally complete.


Almost everything we needed for this project we got from Home Depot.
The tile (the color we used is called "snow white"),


the thin-set,


the trowel,


the grout and all the other things needed for tiling (sponges, bucket, float, etc).


We saved by borrowing my Uncle Frank's wet saw...


...and his expertise.
He was nice enough to come give Chris a tutorial on how to tile. 


Like my apron read, I was there to help...


...which entailed replenishing beers, making sure the tiles looked straight, and moral support.


The areas where we didn't need to work around any sockets were easy and went up quick.


Cutting the tile to fit around the sockets required a little more thought.


A week later, after the thin-set had plenty of time to dry, we grouted.


We bought this drill bit to stir the grout (way easier than stirring by hand).


The process of grouting was about as fun as going to the dentist.


Our friend Brian got duped into helping us. 
We assured him it would be really fun. He quickly learned otherwise.


Everyone got an arm workout, even me.
It is tank top season after all.


Anyway, it is finally finished and I am so happy we did it!


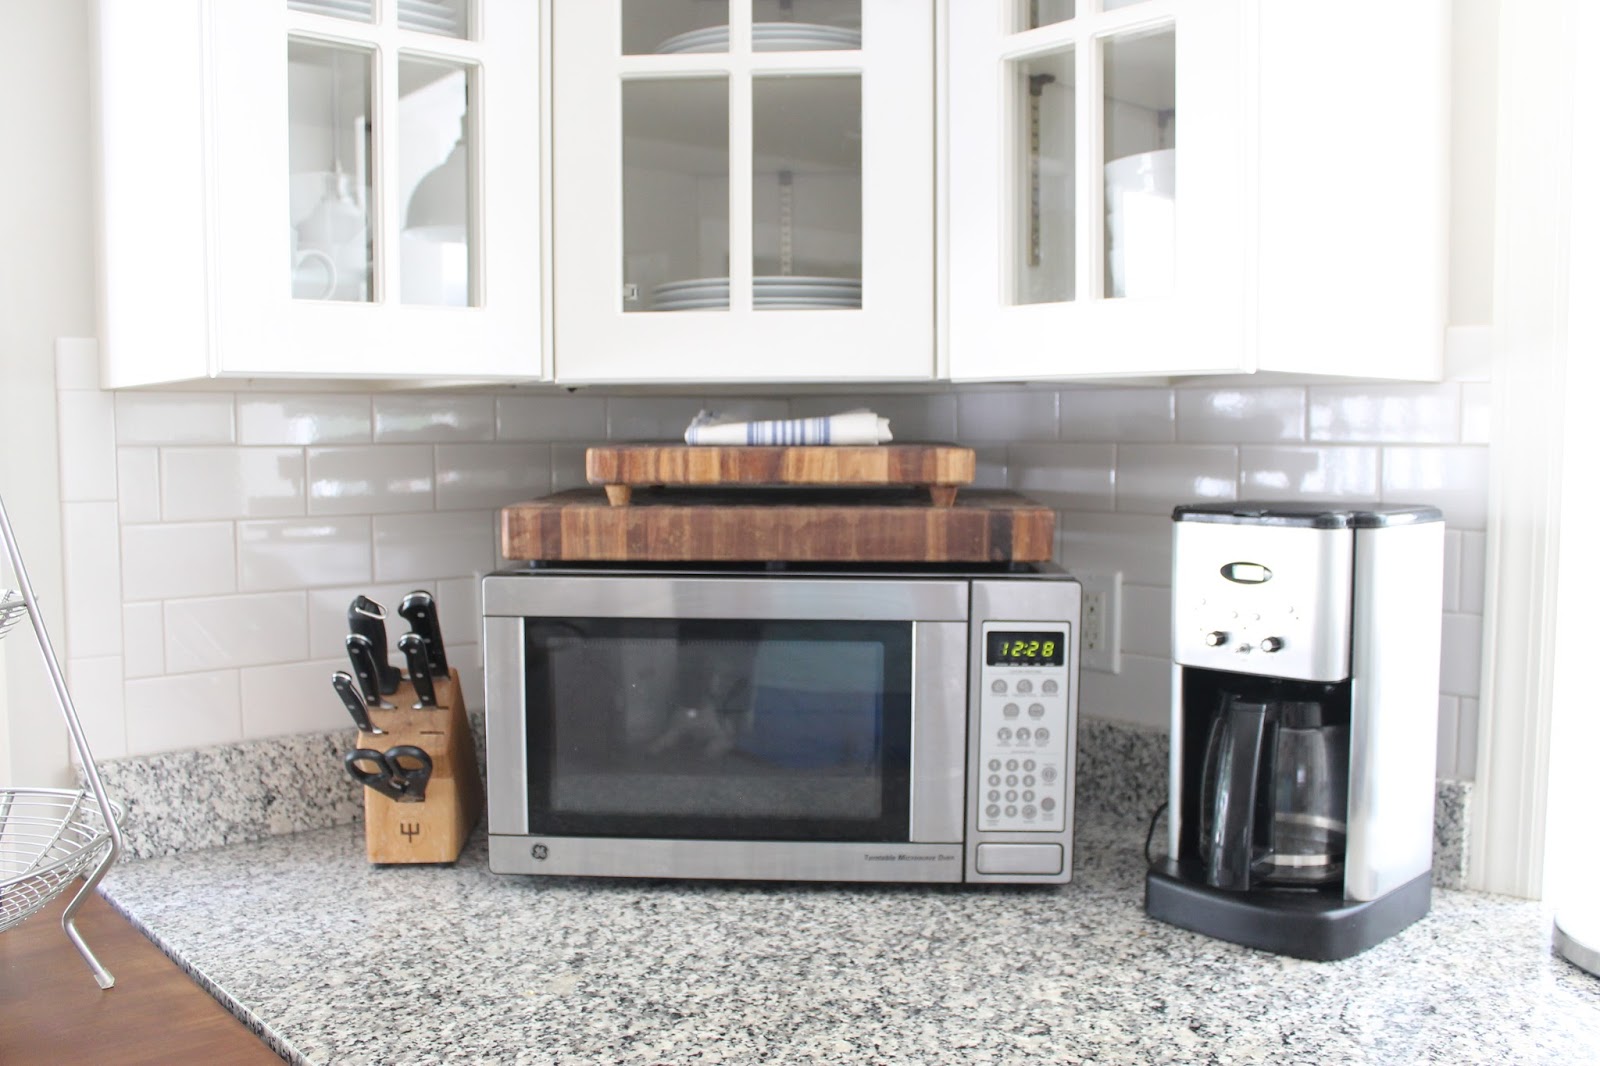
Here's a rough breakdown of the costs for this project:

   tile                   $80 
bucket             $3
trowel              $6
  thin set             $45
  mixer drill bit    $12
  floats               $15
sponges           $4
  grout               $13
-------------------
total:  roughly $180

Not too bad, right?
And another project can get crossed of the list. 
Feels good!

- Caitlin


Sunday, July 28, 2013

Birthday boy!

Where exactly did the last 10+ years go?
One of my earliest memories of my husband and I being together is celebrating his 18th birthday.
Now he turned 30 and I can't believe how quickly time flies!

Although he did not want to make a big deal (or any deal at all really) over him turning 30, 
I decided to have a very small get together to celebrate his birthday.

Because the party was low-key and casual, I did online invitations via paperlesspost.com.
This site has tons of really cool looking invitations for really any occasion you can think of and it is free.
Here's the invite I chose (with our address blurred out):


For the party, I was inspired by this photo display that I saw on Pinterest...

Photo display for a party

...and created my own version:


I made the burlap and fabric banners using twine and a hot glue gun.


I strung photos of Chris on the same twine using clothespins.
Look at that face!


We had the bar set up below:


And this is not just any bar. 
Chris built this one himself! 


He modeled it after this Pottery Barn one
Don't they look so similar?


Alternate View

Alternate View

He even added a look-alike towel holder...


and bottle opener!


On top of the bar, I made a runner out of fabric (and by made, I just cut the fabric with pinking shears) 
that I used in all different parts of the party.


I filled this drink dispenser with a wine spritzer 
(white wine, seltzer, one bag of frozen raspberries, and fresh peaches).


I ordered these paper straws from TomKat Studio.


Even the dogs were sporting the geometric fabric. 
Here's Abbey, my brother's and sister-in-law's dog:


And our dog Rosie (or as our niece calls her, Rosemary).


Check out the homemade corn hole game our friend made for Chris!


The bean bags matched the theme of the party!


My mother-in-law, who is an amazing baker, made the cake:


How perfect are these candles?


It was a great day with family & friends.
Happy birthday Chris!