Monday, March 31, 2014

Showering ourself with a job well done

I've posted before about our master bathroom and our journey to embrace the gold fixtures.
And after having made some changes that you can read about here, here, and here, the gold really is growing on me.
Recently however, we decided we just couldn't live any longer with the tarnished gold shower head.
It clearly has seen better days:


So after doing a little research and watching a few You Tube videos, Chris learned that switching out this shower head for a newer one without a plumber would not be as complicated as we thought.

We went ahead and purchased this shower head from Home Depot, sticking to the same color and style as the existing shower handle. The price was reasonable, shipping was free, and it arrived just a couple days later.

Home Depot
Chris started by twisting off the shower head.


Good riddance!


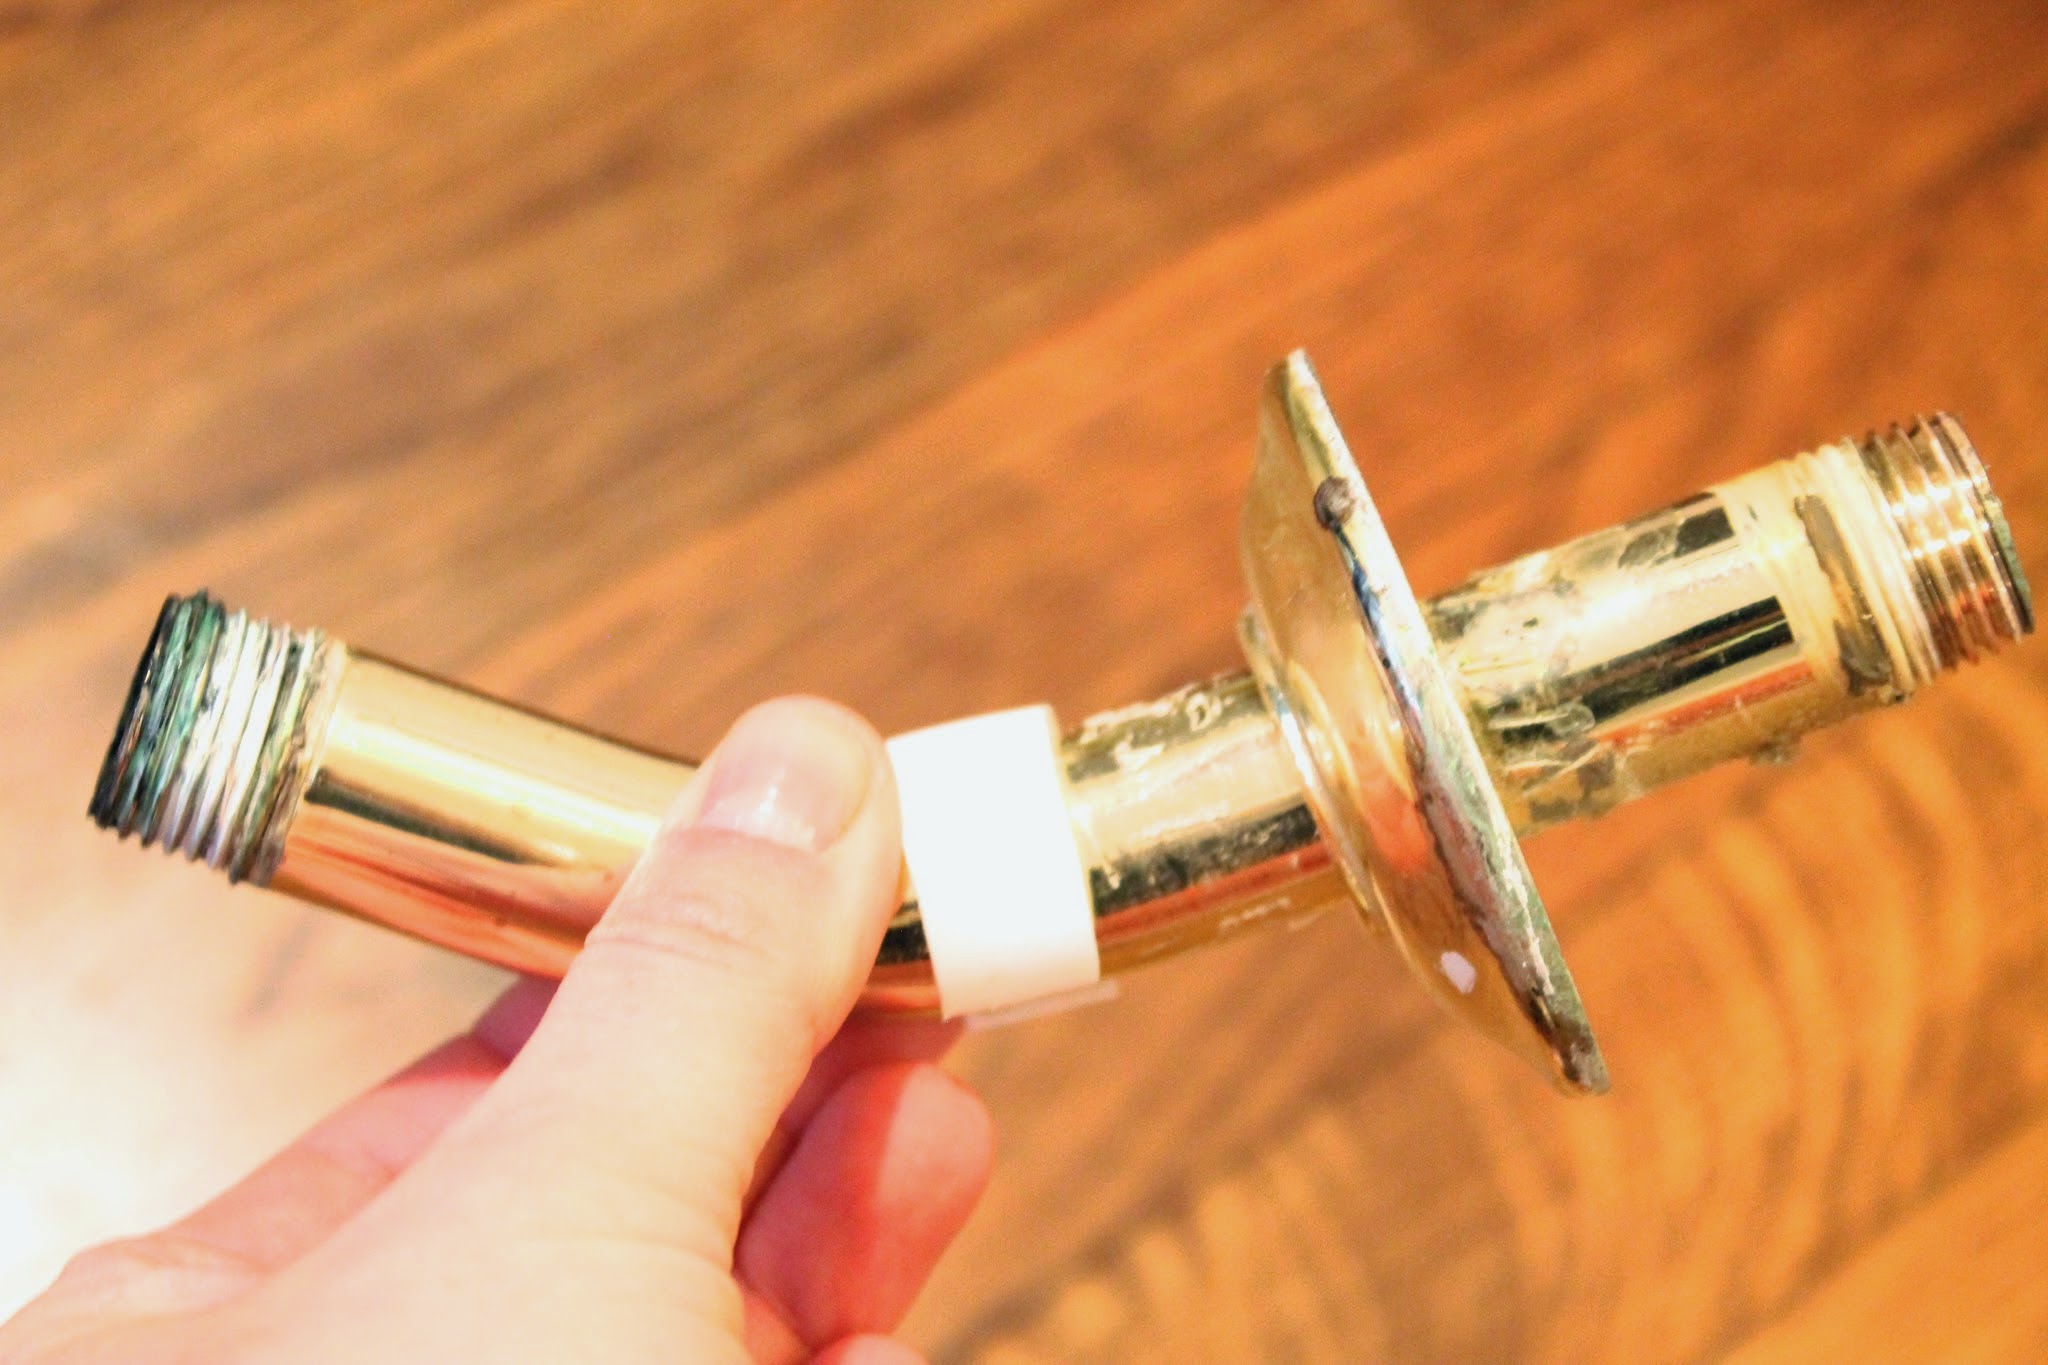
Next came twisting off the shower arm.
It was a little tough to get off by hand so he used a wrench.


All that remained was this hole.


Next, he wrapped both ends of the new shower arm with teflon tape.


Here it is twisted into the pipe in the wall:


Then, he twisted on the new shower head.


The last step was sealing the cap with waterproof silicone.


And that was all it took. 
Easy, right?


The best part? It works!
I love when a DIY project goes as planned.


A major improvement if you ask me.


Thanks for dropping by!
- Caitlin

Saturday, March 29, 2014

Hoppy Easter!

I know, lame post title! I couldn't resist...
Anyway, Easter is one of those holidays that I tend to neglect when it comes to decorating around the house. 
It always sneaks up on me and I usually only put out some jelly beans in our Crate & Barrel tilt bowl and maybe one ceramic rabbit.

Maybe this year will be different?
Now, I definitely won't be littering the house with pastel bunnies but with Easter just a few weeks away I've been searching for a few ideas that I think are cute and stick with our style.

I think this Pottery Barn flag (currently on sale here) would work on the wall under our covered porch. It would also make for an easy DIY project using some burlap, stencil, and a shortened curtain rod or dowel.

via
via
I'm not hosting Easter this year but if I was, I would definitely try this place setting idea.
I like how it's not overly cutesy.

via

It's fresh,simple, and inexpensive to create.
I'd just need to pick up some eggs from the grocery store and snip some boxwood from the bushes outside our house.

via

How festive are these cupcakes?
It would be a fun project and a great dessert to bring to someone that is hosting the holiday.

via

How do you decorate for Easter?
Wishing you a wonderful weekend :)
- Caitlin

Thursday, March 27, 2014

Another treasure hunt tracker

Last spring, I posted about Garage Sale Rover, an iPhone app that allows you to find garage and estate sales in your area. Well, apparently this app is no longer in existence so I've been on the hunt for another one.
Let me introduce you to Yard Sale Treasure Map:


It does the same job as Garage Sale Rover as it allows you to search for sales on different days of the week and within the distance you would like to travel.


It looks like this weekend's lousy forecast will keep us from having our own garage sale but I think I'll use this app to find some sales that are still on in our area!

Happy treasure hunting :)
- Caitlin

Tuesday, March 25, 2014

Perfectly petite powder room & New Year's resolution fail

You might remember my February resolution that I posted about of re-doing our downstairs bathroom
Well February came and went and sadly, we haven't even touched the bathroom yet.
Boo-hoo.
At least I stuck to January's resolution and if Saturday's weather cooperates, we will be able to stick to March's as well.

So instead of sharing our bathroom that we have yet to work on, I thought I'd share this powder room in my parents' house that was recently repainted and accessorized.

It is a tiny bathroom, which made it challenging to photograph (picture 7-month-pregnant me shoving my belly between the sink and the wall in an effort to capture a decent picture). Nonetheless, the white wainscoting, neutral paint color, and simple accessories make me envious and want a bathroom like this of my own!


How clever is this toilet paper holder?


How have you been with sticking to your New Year's resolutions?
- Caitlin

Sunday, March 23, 2014

Making changes to a changing table

Lots of changes are happening! 
The seasons are changing from winter to spring (thank goodness), my bump is changing by getting bigger by the day, and we have been busy changing our guest bedroom into a nursery.

The latest project we have been working on is changing this piece of furniture into a changing table:


My mom found it for only $10 at a garage sale and as junky as it looks in this picture, it is actually a solid quality piece. Originally she picked it up for my brother and sister-in-law's house that is being built (read about that here), but they decided that they didn't have a place for it so they graciously passed it on to Chris and I. Thanks guys!

Clearly, it needed a lot of work.
We started by prying off a pegboard layer that covered the top, which wasn't as easy as it sounds because according to Chris, that sucker was attached with "1,000" nails.


Underneath the pegboard was this planked top. 
It wasn't wide enough for a standard changing pad, so Chris extended it by adding some wood around the perimeter.


Then came the painting. 
We used a paint and primer in one and applied about 3-4 coats.
The picture below is probably coat #2.


The last step was adding some gray stain (we used Minwax stain and still need to add a polyurethane as a final coat) to the top, a lip around the edge so that the changing pad won't slide around, and some new hardware.

Here's the final product:


I like how the top is not perfect and has lots of holes. 
I think it gives it some character.


I also like how some of the natural wood shows through the stain.


Here it is with a changing pad on top. 
I will probably slide the pad over to the left so that there is room for a small basket on the right to hold diapers, cream, etc.


The hardware is probably my favorite part.
The alphabet knobs are Restoration Hardware but were found at a garage sale for just a few bucks.


Inside boasts lots of storage space for diapers, wipes, and other things of that nature that I get to learn all about. I plan on lining the shelves with some kind of contact paper and adding some organizational baskets.


One more look at the before & after:


Enjoy the rest of your weekend!
- Caitlin

Friday, March 21, 2014

Friday Fashion Fix: "spring"-ing for a jacket

After this winter, I am just about ready to burn my black puffy coat.
I've worn it to death because it was the only thing that would keep me really warm during the horrendously cold temperatures.
Now that it's officially spring (yay!) and the milder temperatures have melted most of the snow and ice, I'm busting out my lighter coats and also considering treating myself to a new one.

I tried this one below on in the store. 
It is hard to tell in the picture, but in person, the quality is really nice.
Just size down, it runs big.

Stripe Trench Coat $59.99 

If you are a teacher or a student, you can get 15% off if you buy this jacket in store:

Factory Everett Field Jacket $79.50

A little pricey now,
but just wait for one of Loft's 40% off everything sale that happens all the time:

Anorak Jacket $118

I'd wear this one with black ankle pants, flats, and a pop of color underneath:

Colorblocked Hooded Jacket $34.80

And for a splurge, I love this navy and white checkered jacket.  
So springy and classic!
If you are a cardmember, get 30% off between March 27-April 2 (use online code APR2014).

Gingham Trench $175

Ah!!
So happy to see one of my DIY projects on Style Me Pretty Living today!


Have a great weekend :)
- Caitlin