Sunday, October 25, 2015

An art update

Thanks for all your kind words about our powder room reveal!
It means a lot, especially on a project that we put a lot of thought and time into.

So, in the reveal I mentioned how it was almost complete because we still needed art to fill the big blank wall. 
Well, today I'm sharing how I have finally come to a decision.

 It started with Pinterest when I was scrolling through some decor inspiration I had pinned.
In a few pictures, I saw these blue ocean botanical prints (which I think are called the Capistrano Seaweed Collection).

source
source
source
I liked the look of them and the big statement the enlarged size makes.
So after a little searching around, I was able to find something similar on Art.com:

Art.com

The blue is a little softer and less navy than the pictures from Pinterest, which I wanted since the window treatment in the bathroom has lighter shades of blue.
I also liked that I could get the print in many different sizes with lots of framing options.

After settling on a few potential frame choices in a couple different sizes, I went to one of my go-to sites, PicMonkey.com, to superimpose screen shots of my options onto the picture of the blank wall in the bathroom. Doing this gave me a better idea of what it might look like.

Here are those shots:


After staring at these pictures for probably way too long I settled on the silver frame in the larger size.
A 45% off coupon code and a good return policy (even if you custom frame!) helped me to pull the trigger and order it.

The best part? It arrived in just a few days!
So now I'm able to share the end result with you here:


Now I can finally say this room is 100% complete!

- Caitlin

Monday, October 19, 2015

The powder room: (pretty much) ready for its reveal

When we moved into this house about two and a half years ago, we knew we wanted to renovate the main floor powder room. But as life goes, there were things that held up this renovation (more important house projects, having a baby, money, time, etc). 

So we made small temporary updates in there (like paint, changed the faucet, did a DIY window treatment) to hold us over until we could really do what we wanted in here.

This past spring we were finally able to really get going on making this space more "us" and I've been sharing the progress along the way on this blog. From DIY tiling to planking the walls, it was a long road for such a small space but it's finally (pretty much) complete!

At the end of this post, you'll find a source list and an explanation as to why I say it's pretty much complete.

But first, the before pictures...
Here are a few to show you what it looked like when we moved in:


...and here it is today:


So what's with the "pretty much" complete part? 
Well, we have this huge blank wall that I'm having a difficult time figuring out.
I was originally going to do a grouping of three gallery frames but once we held them up, it looked too cluttered and busy. 


So, now I'm on the hunt for a piece of art that fits the aesthetic of the bathroom, that is large enough so that it doesn't get lost on the wall, and that covers that outlet cover. 
I think I'm getting close and will share what I end up doing!


Despite all that, I'm sooo happy to finally have an "after" picture of this project.


Source list:

faucet - Rohl
window shade fabric - Thom Filicia
hand towels - Serena & Lily
vase - Pottery Barn (no longer available)
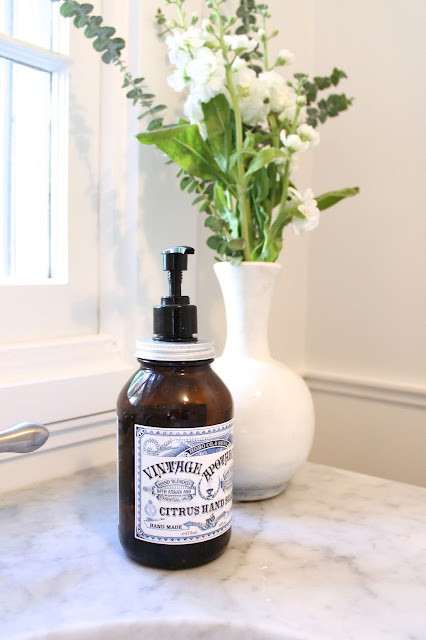
soap - Home Goods
silver gallery frame - Crate & Barrel (on clearance!)
picture in frame - personal iPhone photo turned watercolor using this app
toilet - Toto
mirror - garage sale
fresh flowers and succulent - Trader Joe's
planks - Home Depot
grout - Home Depot
wall paint color - Benjamin Moore Horizon
plank paint color - Benjamin Moore Decorator's White

- Caitlin

Tuesday, October 13, 2015

My Daily Bubble: What a hack!

My October post over at My Daily Bubble is live!
Check out how I turned Ikea dressers into nightstands for our guest house makeover

In case you missed my last post over at My Daily Bubble, you can catch up on it here.


Tip: 
If you are looking to do an Ikea hack of your own and want to save some money, try searching Craigslist for used Ikea furniture at a discounted price. Not to mention, you save yourself the time of assembly. I was able to score both of these dressers for a total of $100 (buying them both new in the store would have cost me around $160). Plus, I didn't have to torture myself trying to follow those annoying wordless assembly directions!

- Caitlin

Monday, October 12, 2015

Simple sconce switch

Hello out there!

I haven't been posting as frequently as I'd like to because wow, we've been dealing with a nap transition that has had its ups and downs. What transition doesn't though, right?

The ups include almost 3 hour naps that have me running around in circles not knowing how to best utilize my free-time (which at 31 weeks pregnant usually results in me faceplanting on the couch) and downs that are hour teaser naps that make for a cranky kid and a probably crankier mom. 

Anyway, today is an up day and I'm happy to share a small and easy decorating change in Charlie's playroom that adds a lot of personality.

You might remember me asking your opinion on switching out these plain glass sconce shades for something a little more fun:


Well, I took your advice and decided to get the Schoolhouse Electric striped glass shades!
I'm so happy I did. 
They're cute and fun and fit right in with this almost complete playroom.


Like I said, this playroom is almost complete.
The only thing left to do is have cushions made for the built-in seat (which opens up and hold lots of toys).
I've ordered a couple fabric samples and got a reasonable quote to have them custom made. 


A quick thank you to It All Started with Paint for featuring our guest room (which is now Charlie's nursery).

- Caitlin

Thursday, October 1, 2015

The "it's taking me forever" family room

Man oh man...I just can't seem to wrap up decorating this family room of ours and call it a day!
And I can't help but feel a sense of urgency before baby #2 arrives because I know once he's here, it'll probably never get finished.

Anyway, despite my decorating writer's block, I was able to recently work on the window seat area which conveniently has built-in storage for stashing some of Charlie's toys.

Here's what it is looking like: 


The previous owners of the house had this whole bench area lined with throw pillows and I really liked how inviting it looked. So, I decided to add some throw pillows too.


Obviously I have a blue and white thing going on. 
Can't help myself.


The solid jute trim pillows are from here and the striped pillows are from here (sold out in blue and white but available in gray and white).


I ordered this blue and white patterned fabric from here and my mom made two throw pillows out of a yard (the backing is just a plain canvas).


The blue and white diamond throw is from here (and is available in two other colors).


Fingers crossed I can finish this room in time!
- Caitlin